Introduction
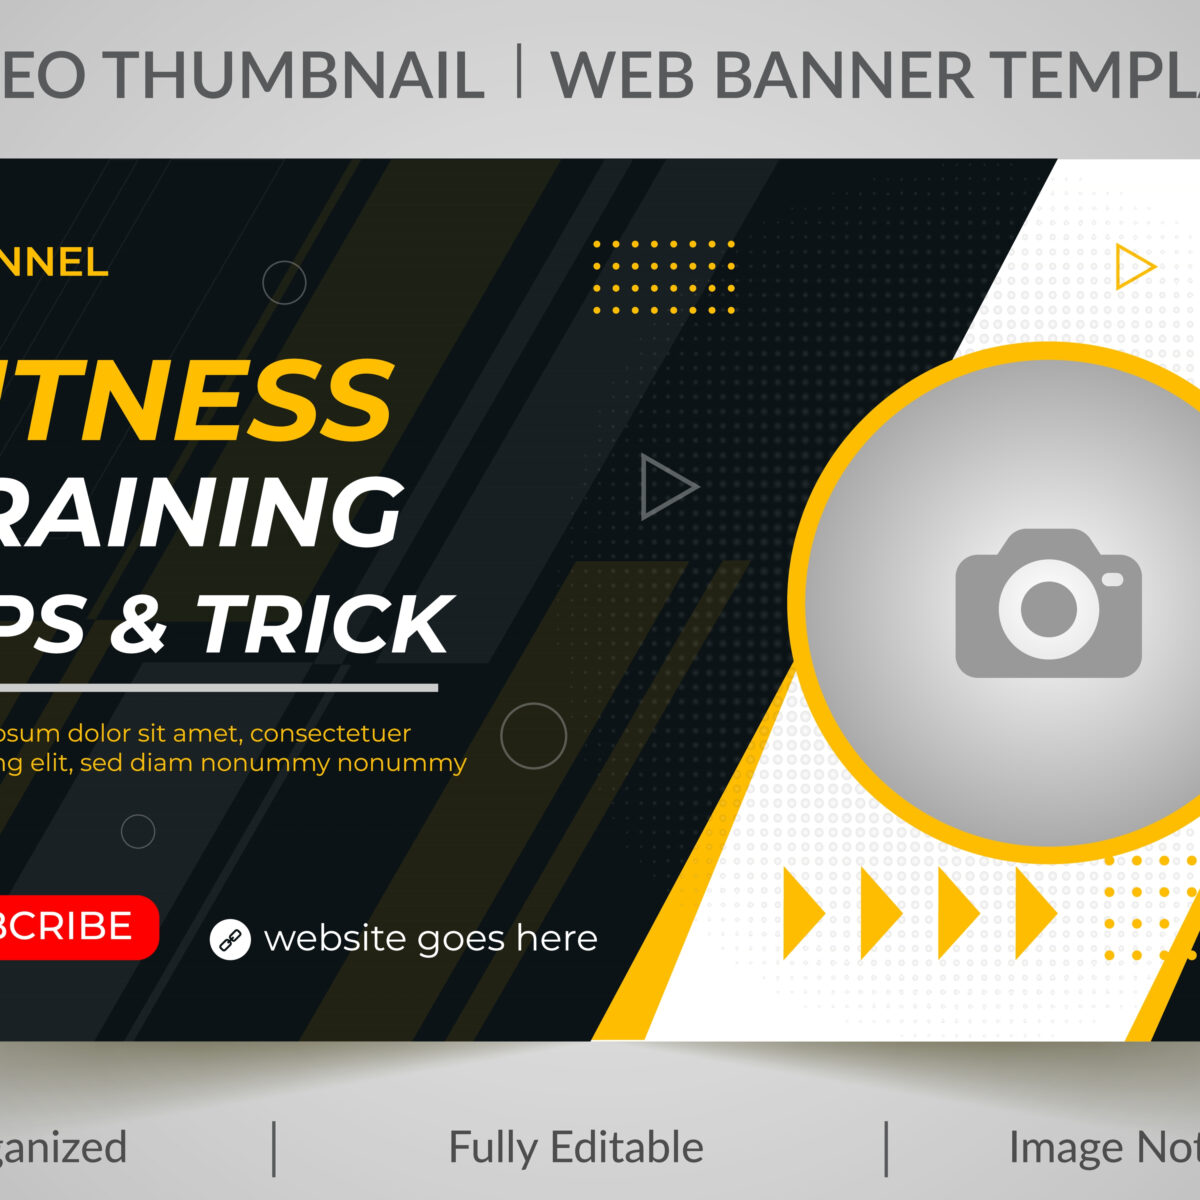
Creating a thumbnail for your YouTube video doesn’t have to be complicated. In fact, it can be as easy as using an online tool like Canva to create the perfect thumbnail in just minutes. Once you learn the basics of creating a thumbnail in Canva, you’ll find that the process is quick and easy every time.
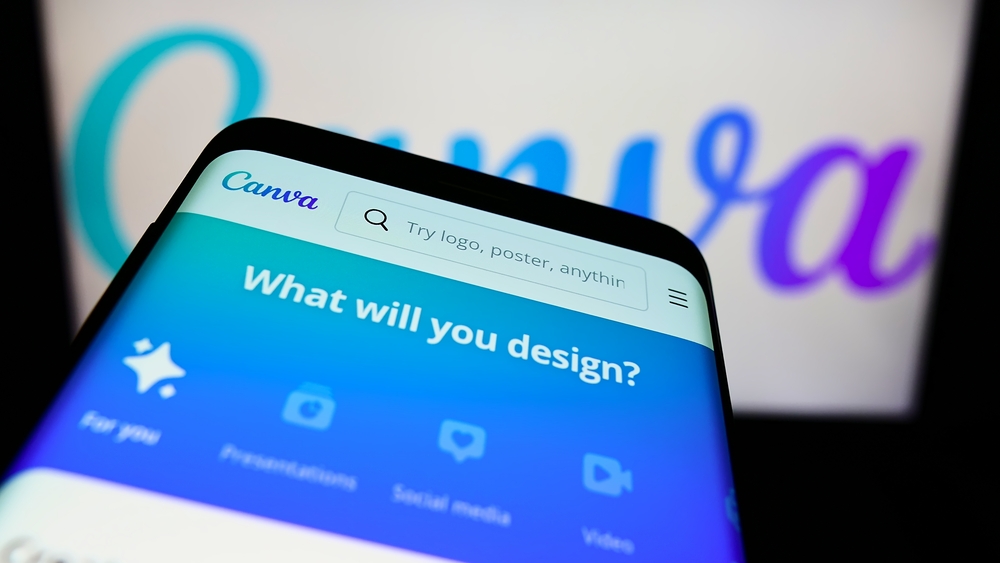
Sign up for a Canva account.
Signing up is easy and only takes a few minutes. On the homepage, click on the “sign up” button. Fill in the required details and click on “create account” to finish signing up for an account. You should now see your dashboard that shows all of your designs, templates and other options available to you through Canva.
Choose your template.
To create a thumbnail, you will need to choose a Canva template that fits the type of video you are creating, as well as its topic and tone. If you’re making an explainer video about how to do something and want to use graphics in your thumbnails, then choosing a simple and clear design would be best (for example: “How-to videos”). You can also customize some templates by adding text or changing colors if needed. This will save time for both editing and uploading!
Upload your image.
Once you’ve opened Canva, click on the “+” button in the top right corner. This will bring up an option to upload an image from your computer or from the web. You can also use images from your phone!
Once you have an image uploaded, you can add text to it with ease by clicking on “Text” and choosing your font style and color. If you want to resize your text box, click on “Scale Text Box” at the bottom left of your screen; this will allow for resizing without affecting the quality of your image or its content. You can also choose whether or not to have a transparent background when adding text!
To create shapes within an existing layer of an image (or multiple layers), select “Shape Tool” under Tools at the top left of your screen; once selected, click anywhere inside any layer(s) in order for a selection box to appear around that area – then select what type of shape would work best for what purpose: circle/square/oval; arrowheads & lines; stars & hearts etcetera… This tool allows users who aren’t familiar with Adobe Illustrator software program how they might otherwise do things using pen tools like those found in other programs such as Inkscape (a more advanced version).
Edit the image
- With the image selected, you can edit it. To do that, click on the Text tab and drag your mouse over it to select all of the text. Then press Ctrl + C to copy and then go back to your canvas and paste it into a new layer.
- Now we get to add our border! In this case I want something simple so I’m just going to add black lines around my image using a thick stroke setting with no fill (see screenshot above). To create this effect, first select your shape tool in Canva (1) then choose whatever shape you like from their library (2).
- Next choose whether you want rounded corners or sharp-edged corners (3) before adding any text inside the shape by clicking inside one of its corners or sides and dragging outwards until it’s big enough for what you want written there. You can also use images from Canva’s library instead if that suits better but keep in mind this will increase file size significantly so make sure everything still looks sharp when uploading later on!
Change the font.
Go back to the text box, click on the icon and select your chosen font.
Then click on the size drop-down menu, choose a size and hit OK.
You can also change the color of your text by clicking on it and using the colour picker to select one of Canva’s many shades or hues (this will apply it not only to this text but also any other). And finally, if you want some special effects, click on ‘font style’ then choose from options such as bold or italic (if available).
Change the color of your text.
- To change the color of your text, click on the text box.
- Click on the color palette at the top right corner of your screen (it looks like a square with three rectangles inside it).
- Click on the color you want to use for your text. You can pick whatever shade looks best!
Download your new thumbnail.
You’ve learned how to create a new thumbnail for your YouTube video, but now what?
If you want to create a new thumbnail for your YouTube video, all you have to do is follow these steps:
- Go back into Canva by clicking the three dots in the top-right corner of your screen and choosing Open Canva again.
- Click on “Download” at the top of the page and save it somewhere on your computer (like in My Documents). This will allow you to upload it from there later on when needed!
It’s easy to create a thumbnail to represent a YouTube video
- Choose a template that matches the style and content of your video.
- Upload an image to use as the thumbnail.
- Edit the image by adding text, changing font sizes and colors, or cropping it using Canva’s drag-and-drop tools.
- Download your new thumbnail for uploading to YouTube!
Conclusion
Making a thumbnail is easy! Now that you have all the tools and steps, you can go ahead and start making your own thumbnails right now.